Tips for a Successful Outdoor Photo Session
Outdoor photo sessions are a great way to capture beautiful moments outdoors. Whether you’re looking to capture family memories, take professional headshots or senior pictures, or simply snap a few shots of nature, outdoor photography has something for everyone.
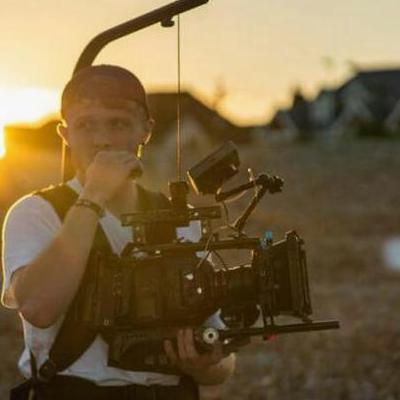
Outdoor photo sessions are ideal for capturing natural beauty and landscapes. Natural light is often the best for outdoor photos, and it can be used to create beautiful, soft-lit images that can be used in a variety of ways. Outdoor photo sessions also give you the opportunity to use unique backdrops, such as a lake, beach, park, or mountain. These backdrops can add an extra level of interest to your photos and make them stand out from the crowd.
Preparation for an Outdoor Photo Session
Here are some tips on how to make the most of your outdoor photo session.
- Location: Before you select a location, consider the type of photos you want to take and the kind of background you’ll need. If you’re looking for shots with lots of greenery, a park or natural area would be a great choice. If you’re going for a more urban feel, a city street or alleyway could work. Also, consider the time of day when selecting your location – different times of day can create different lighting effects that can alter the look of your photos.
- Clothing: Make sure to choose clothing that will stand out against your chosen background. Bold colors work best for outdoor photo sessions, as they will make your subject stand out more. Clothing should also be comfortable and appropriate for the weather.
- Props: Props can add extra interest to your photos and can be used to tell a story. You can bring items like hats, scarves, chairs, and umbrellas to add extra dimension to your photos.
- Accessories: Accessories such as jewelry, sunglasses, and watches can be used to add a bit of flair to your photo session.
- Lighting: Pay attention to the lighting in your chosen location. Natural light is usually best for outdoor photo sessions, but it can also be used to create interesting shadows and backlighting effects.
- Weather: Make sure to check the forecast before your photo session, so you can be prepared for any sudden changes in weather. If there is rain or strong winds, you may need to reschedule your shoot or move indoors.
How to Pose for Outdoor Photos
First, it’s important to remember that you don’t have to be a model to take great outdoor photos. There’s no need to be stiff and formal; instead, be relaxed and natural. Wear comfortable clothing and avoid anything too tight or restrictive.
Second, find your best angles. Experiment with different poses, such as turning your body slightly to the side or using your hands to frame your face. Also, try to look up at the camera rather than down; this will help create a more flattering angle.
Third, use props. Props such as chairs, flowers, umbrellas, and even balloons can add an interesting element to your outdoor photos. You can also use natural elements like trees and rocks for a more rustic feel.
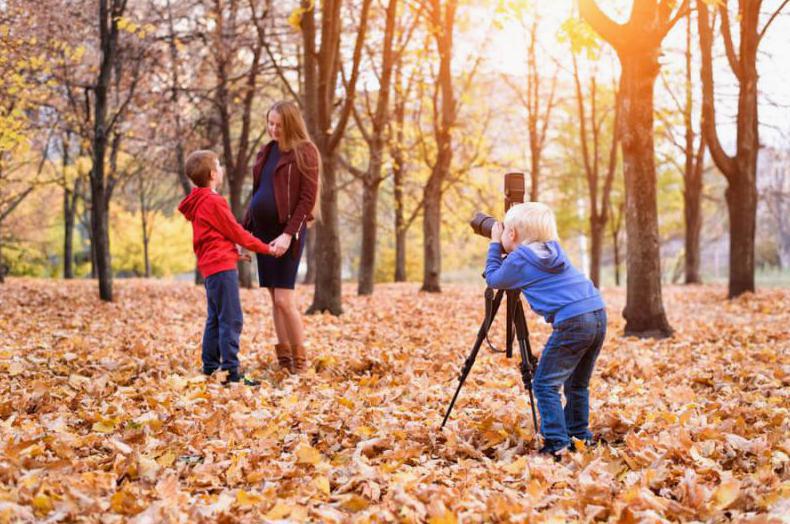
Fourth, consider the background. Pay attention to the environment around you and try to find a spot with an interesting background that will complement your photos. For instance, if you’re taking photos in a park, find a tree with a unique shape or color that will stand out in the photo.
Finally, don’t forget to have fun! Outdoor photo sessions are a great opportunity to express yourself and create lasting memories. So relax, have fun, and enjoy the experience! With these tips, you’ll be well on your way to taking amazing outdoor photos.
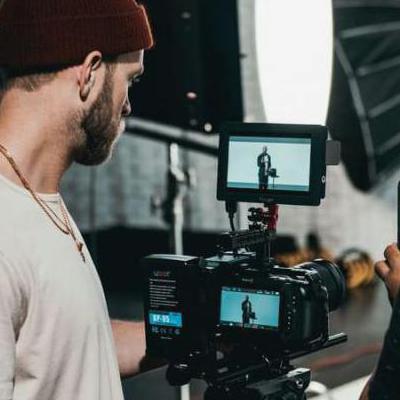
Essential Gear for Outdoor Photo Sessions
- Tripods: Tripods are essential to outdoor photography as they allow you to take steady shots and keep your camera in place while you adjust the settings. A good tripod should be lightweight, sturdy, and easy to set up and adjust.
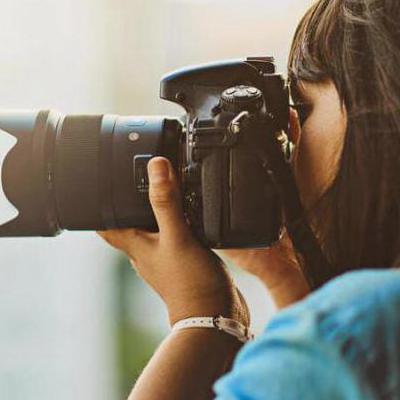
- Camera lenses: Different lenses will give you different results depending on what type of shots you’re trying to capture. A wide-angle lens is great for capturing sweeping landscapes, while a telephoto lens is great for capturing distant subjects.
- Reflectors and diffusers: These tools are used to control the light in your photos. Reflectors bounce light back onto your subject, while diffusers soften the light and create a more even exposure.
- Filters: Filters can help you achieve different effects in your photos. A polarizing filter can reduce glare and reflections, while a neutral density filter can help you capture shots with long exposures.
- Light stands: Light stands are essential for controlling the direction and intensity of the light. They can be used to hold reflectors, diffusers, and other tools in place so that you can get the exact lighting effect you’re looking for.
- Storage: Make sure you have plenty of storage space for your photos. Invest in a good memory card or external hard drive so that you can store your photos safely and securely.